

When I started exercising for the first time many years ago, I was immediately drawn to the rowing machine at my local gym. It seemed like a simple way to get a comprehensive workout. I soon realized that using it effectively was not as straightforward as I had thought.
My first few tries were clumsy and filled with doubt. I kept wondering if I was doing it right or if I could be getting more from my workouts. Watching others use the machine with such ease made me feel a bit out of place. But I was determined to master it.
I dedicated time to learning the correct techniques and understanding the intricacies of the rowing machine. The whole process helped me improve my workouts, and now I want to help you as well.
How to Get Started?
I believe all of us are a bit nervous when we have to try a new machine in the gym, not knowing even where to start. When you decide to try the rowing machine, here’s what you need to do:
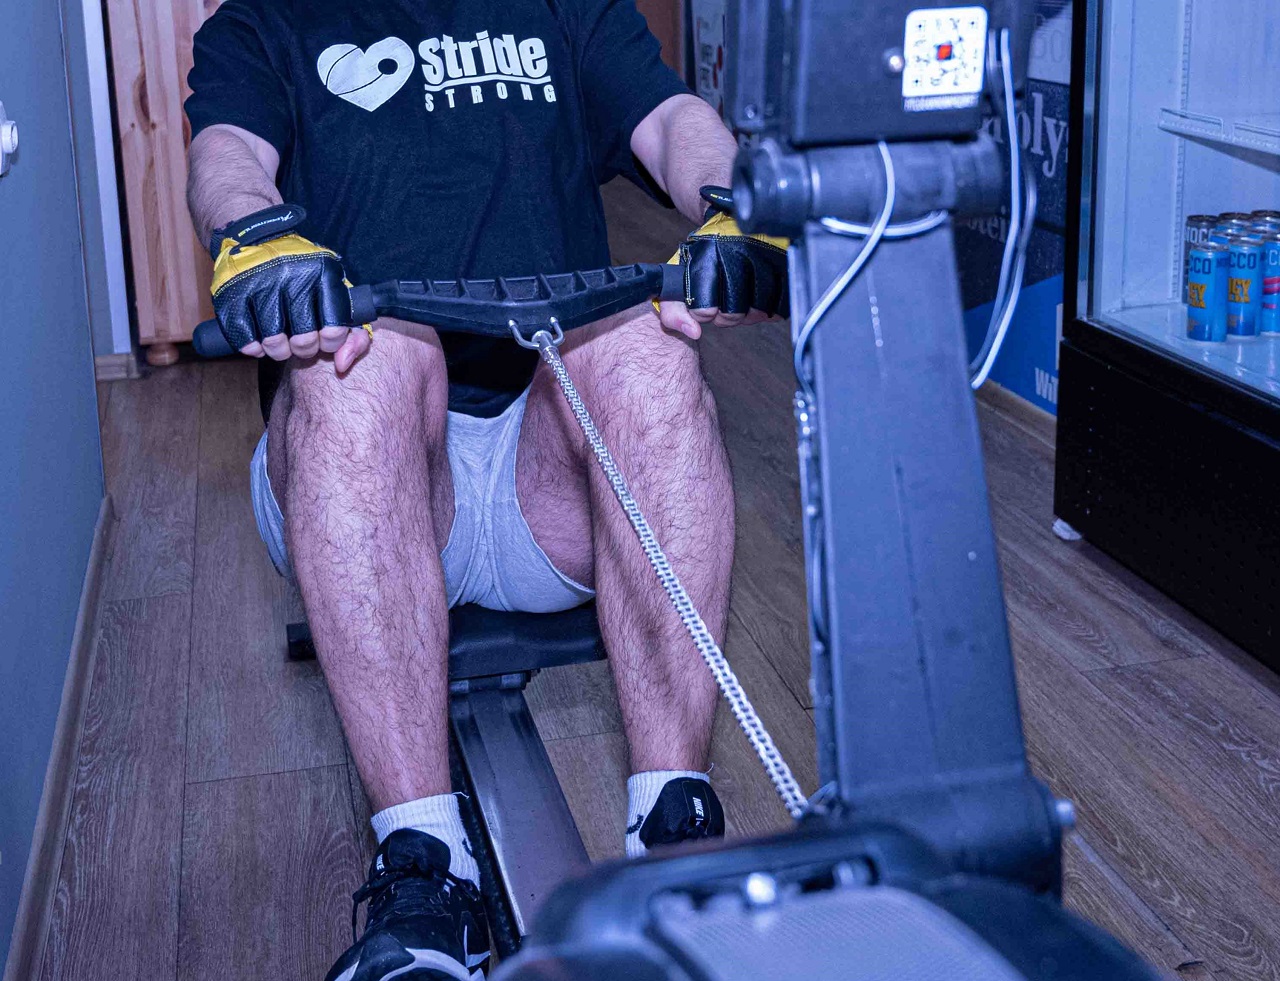
Step 1: Identify Key Components
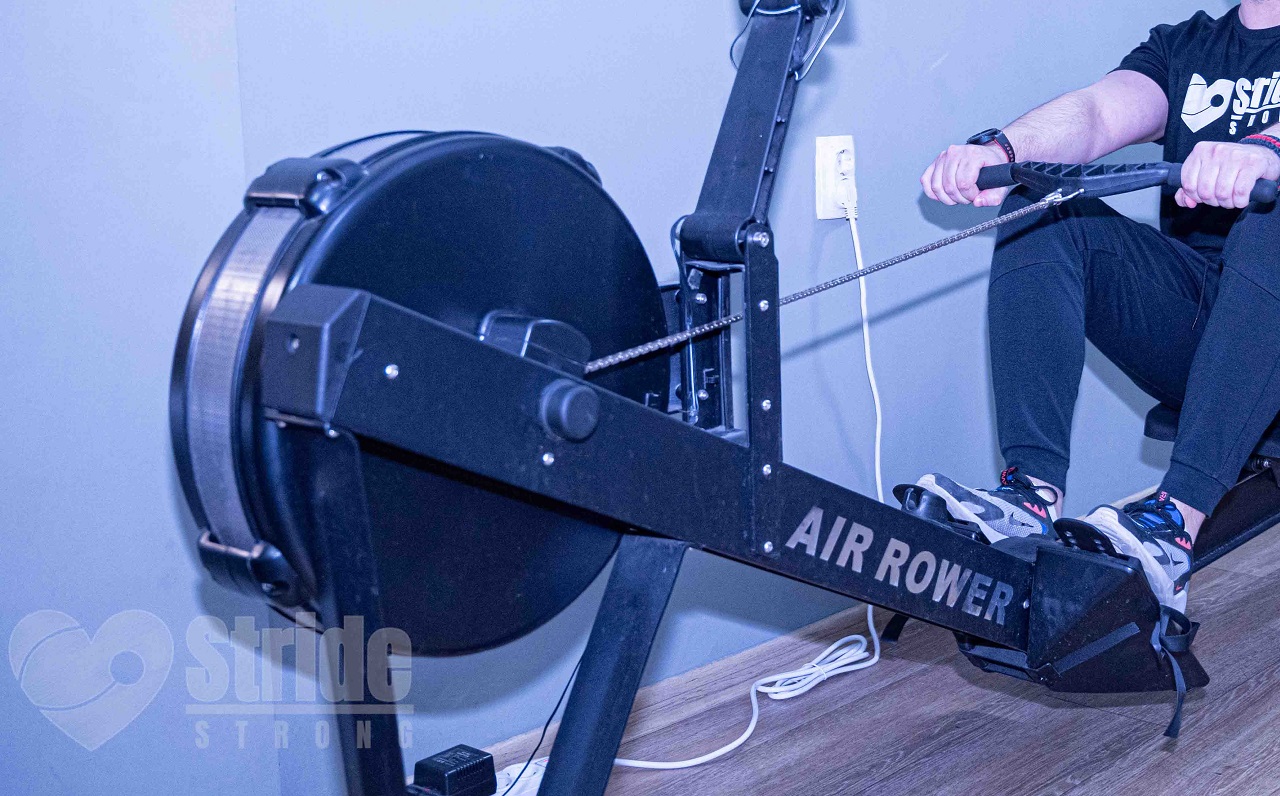
A rowing machine consists of:
- a flywheel for resistance,
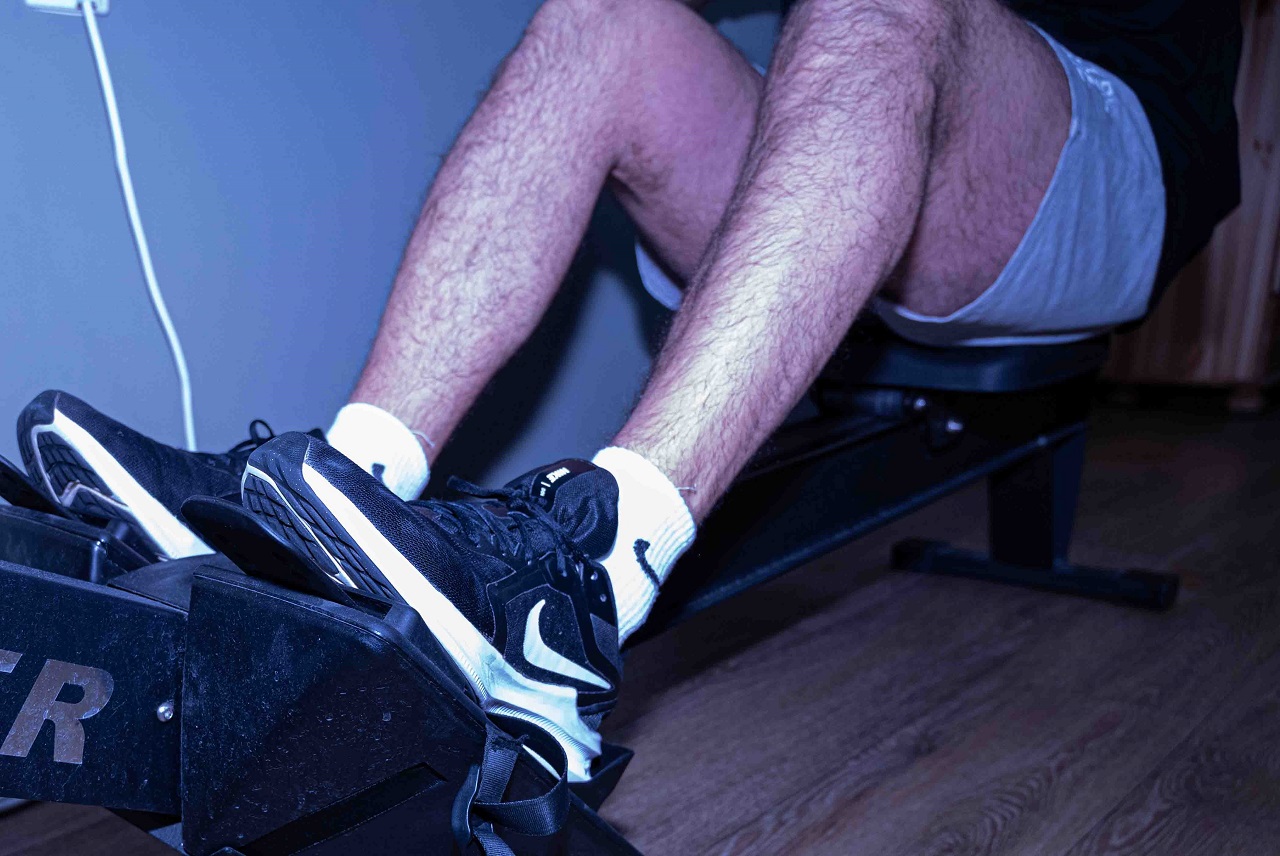
- footplates to secure your feet,
- a sliding seat for movement,
- and a handle connected to the flywheel through a chain or strap.
Knowing how parts function is crucial as they work together to simulate the rowing motion.
The flywheel’s resistance can typically be adjusted, and the footplates often have adjustable straps to secure different foot sizes.
Ensure the seat slides smoothly along its rail without obstruction for a comfortable rowing experience.
Step 2: Set the Resistance
If you are new to rowing, start with a low-resistance setting to avoid straining your muscles and focus on mastering the technique.
Low resistance allows you to get accustomed to the rowing motion without excessive strain.
As you progress, this setting can be incrementally increased to challenge your muscles more. It’s important to prioritize form over resistance to prevent injury and ensure effective workouts.
For those with more experience, adjust the resistance to a higher setting that provides a challenging yet manageable workout. Higher resistance increases the intensity of the workout, engaging your muscles more effectively and leading to greater strength and endurance gains.
I would like to say that you should invest a lot of time before you can move to an upper level. Going to the upper level prematurely can lead to injuries.
It is essential to maintain proper rowing form even at higher resistance levels. Regularly changing the resistance can also help in targeting different aspects of fitness like strength or endurance.
Proper Technique – The Four Phases of Rowing
What is a proper technique is up for debate when it comes to a rowing machine. But let me provide you with four phases I’ve learned from my trainer back in the day. These four proved to be very useful in my case.
Phase 1 – The Catch

Begin by sitting on the seat with your knees bent and feet secured in the footplates. Lean forward from your hips, keeping your back straight, and extend your arms to hold the handle.
This starting position is crucial as it sets the foundation for a powerful and efficient stroke. Ensure your shins are vertical and your body is leaning forward at the hips, not the waist.
The focus is on maintaining a strong posture with a straight back and relaxed shoulders. It’s important to avoid hunching over or straining your lower back.
Your arms should be extended with a slight bend in the elbows, and your grip on the handle should be firm but relaxed.
This position prepares you to engage the major muscle groups effectively in the subsequent drive phase.
Phase 2 – The Drive
Begin the drive by pushing through your heels to extend your legs. Your back should remain straight as you transfer the power from your legs to the rowing machine.
This leg-driven movement is where the majority of your power comes from, making it the most crucial part of the stroke. Avoid pushing too quickly; a controlled, powerful leg push is more effective.
As your legs straighten, smoothly transition to leaning back slightly from the hips and pulling the handle towards your chest.
Your arms should finish the movement by pulling the handle to the lower ribs while your back leans back at about a 45-degree angle.
The coordination between the leg drive and the arm pull is vital for a fluid and powerful rowing stroke. Ensure that the transition from legs to arms is seamless and synchronized.
Phase 3 -The Finish
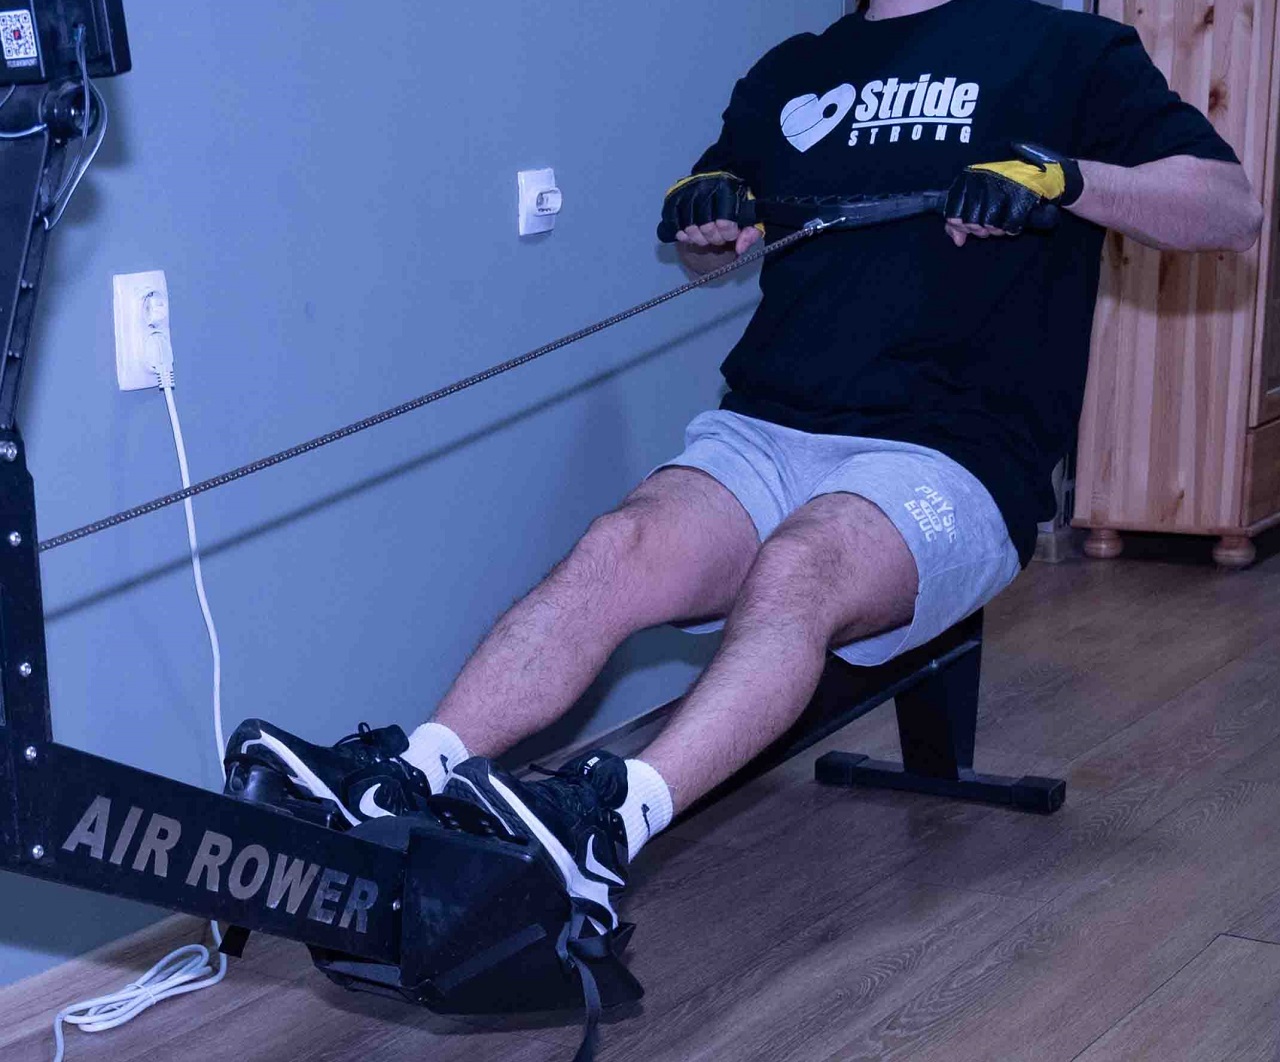
At the finish, your legs should be fully extended, and your body should lean back slightly. The handle should be held close to your body, just below the ribs.
Your elbows should be pointing down and back, tucked close to your sides.
This position marks the completion of one full stroke and the transition point to the recovery phase. The focus in the finish is on maintaining control and preparing for a smooth transition to the recovery phase.
Avoid leaning too far back or flaring your elbows out. Your core should be engaged, and your posture strong, ensuring that you are in a stable position to efficiently move into the recovery.
Phase 4 – The Recovery
Begin the recovery phase by extending your arms forward and then leaning forward from the hips. Once your arms are extended and your body is leaning forward, bend your knees to glide smoothly back to the catch position.
This phase is about resetting your position for the next stroke and should be controlled and deliberate. The focus during recovery is on control and preparation for the next stroke.
It’s essential to resist the temptation to rush back to the start; a controlled recovery allows for better breathing and prepares your muscles for the next stroke.
Breathing Technique
According to a study, breathing while rowing should go like this:
Inhale during the recovery phase as you return to the catch position. This phase is less strenuous, allowing you to take in oxygen which is crucial for the next drive phase.
Breathing in at this time helps maintain a rhythm and ensures that your muscles are oxygenated for the next stroke.
A deep, controlled inhalation is recommended to maximize oxygen intake.
Exhale during the drive phase when exerting the most force. This helps in engaging your core and stabilizing your body during the powerful leg push and arm pull.
Exhaling during the drive aids in maintaining a steady rhythm and ensures effective oxygen circulation throughout the workout.
It also helps in exerting force more efficiently.
Common Mistakes to Avoid
Now, let me provide you with some mistakes I’ve made. That way, you can make the process seamless and prevent any injuries.
Poor Posture
Maintaining a poor posture, such as rounding your back or slouching, can lead to inefficiencies in your rowing stroke and potential back injuries.
It’s important to keep your back straight, shoulders relaxed, and core engaged throughout the rowing motion. A good posture ensures that you’re engaging the correct muscles and reduces the risk of strain or injury.
Bad posture can lead to several problems. According to Wendy Katzman from UCSF:
“Poor posture increases load on the spine that can damage the vertebral discs and muscles, leading to increased risk for neck and back pain, as well as vertebral fractures when bone mineral density is low.”
Overreaching or Leaning Too Far Back
Overreaching at the catch or leaning too far back at the finish can strain your back and reduce the effectiveness of your workout. Stay within a comfortable range of motion where you can maintain control and good form.
Focus on a smooth transition from the catch to the drive and from the drive to the finish without excessive leaning or reaching.
Jerky Movements
Jerky or uncontrolled movements can disrupt the fluidity of your rowing stroke and increase the risk of injury. Aim for smooth, fluid strokes where each phase of the rowing stroke seamlessly transitions into the next.
Practice controlling the speed and flow of your movements, especially during the recovery phase.
Gripping the Handle Too Tightly
Holding the handle too tightly can cause unnecessary tension in your arms and shoulders, leading to fatigue and reduced effectiveness. Hold the handle firmly but without excessive grip.
Your grip should be secure enough to control the handle but relaxed enough to avoid tension in the upper body.
Basic Workout Structure
Now, let me provide you with my basic rowing machine workout structure.
| Workout Phase | Duration | Details |
|---|---|---|
| Warm-Up | 5-10 minutes | – Start with a gentle rowing pace to increase heart rate and warm up muscles.
– Focus on good form and breathing rhythm. – Add dynamic stretches after a few minutes, targeting legs, back, and arms. – Stretches can include leg swings, arm circles, and torso twists to increase flexibility and motion. |
| Main Workout | 20-30 minutes | – Settle into a consistent pace that is challenging yet maintains proper form.
– Focus on endurance and technique, maintaining a steady stroke rate. |
| Interval Training (Optional) | Varies | – Alternate between high-intensity rowing and rest or low-intensity periods (e.g., 1-minute high intensity, followed by 2 minutes lighter rowing).
– Boosts cardiovascular fitness, increases calorie burn, and adds variety. |
| Cool Down | 5-10 minutes | – Gradually slow down the rowing pace to lower heart rate and begin recovery.
– Continue focusing on good form during cool down. |
| Stretching | Post-Workout | – Spend a few minutes stretching major muscle groups used in rowing – legs, back, and arms.
– Hold each stretch for 20-30 seconds to reduce muscle tension and improve flexibility. – Essential for recovery and injury prevention. |